Sequence Villa Finishes and Furnishing for a Usable Handover
A villa can look nearly complete while its furniture cannot yet be installed: the floor needs protection, a wall finish is curing, or a large cabinet has no delivery route. For a villa project, the crucial question is which decisions must be fixed early, which dimensions must wait for the finished room, and when each item can be safely delivered.
This sequence is about dependencies, not a rigid calendar. A dining table needs a clear entrance; a built-in wardrobe needs final wall dimensions; a fabric sofa needs a clean, dry room. The team should define readiness for each room and verify it before a shipment arrives.
Begin with use and room dependencies
List how the villa will be used: formal reception, family meals, work, guest stays, storage, and outdoor transitions. Then mark the furniture that affects building services or fixed finishes. A large bed determines lighting and outlets; a built-in cabinet affects wall reinforcement and access; a dining table relates to a ceiling fixture and service route.
The Royal Institute of British Architects' Plan of Work 2020 separates concept, spatial coordination, technical design, construction, and handover. It is a process framework, not a Dubai regulatory requirement. It supports a practical habit: record dependencies before detailed construction information is issued, then confirm technical information before manufacture.
For each significant furniture item, create a short interface sheet. It should show location, outside dimensions, door or drawer movement, nearby power, lighting, air outlets, fixing requirements, finish junctions, and delivery size. If any value is provisional, say so. A single unmarked preliminary measurement can propagate through several trades.

Coordinate finishes with furniture details
Floor thickness, skirting, wall paneling, and ceiling trim alter the visible and usable dimensions of a room. Review furniture elevations beside finish drawings. A cabinet that appears centered on a rough wall may no longer align after a panel or pilaster is added. A sofa may sit well on the plan but compete with a floor pattern or a window treatment.
Approve material samples in the room's intended light. Stone, wood, metal, and upholstery can shift in appearance as lighting changes. Record the approved combination and identify who can authorize a substitution. If the project has several similar rooms, do not assume that a sample viewed in one room will look identical in every orientation.
Protect the purpose of each surface. A table near a terrace door may face more sun and dust than one in an inner room. A low cabinet may sit beneath a cooling outlet. The Canadian Conservation Institute describes light, humidity, and handling as risks for wooden furniture. Its note is general conservation guidance; the selected furniture supplier must provide product-specific care and placement advice.
Do not lock every custom dimension at concept stage. Final cabinetry measurements should follow completion of the surfaces that define the niche. Conversely, do not postpone the cabinet's broad layout until then: services and blocking may need to be positioned earlier. The schedule should distinguish a design envelope from a production dimension. When Modenese Interiors takes a villa turnkey, with joinery designed and installed by the same studio, both figures still need separate lines in its programme.
| Stage | Evidence to record | Furniture implication |
|---|---|---|
| Spatial plan | Approved zones and routes | Reserve furniture envelopes |
| Services coordination | Outlet, lighting, and air positions | Confirm interface drawings |
| Finish completion | Measured surfaces and condition | Release final custom dimensions |
| Delivery readiness | Clean, protected, accessible room | Bring and install item |
| Handover | Operation and care records | Verify use and maintenance |
Protect indoor conditions during the transition
Fresh finishes, cleaning, and ventilation need coordination before delicate furniture arrives. The U.S. Environmental Protection Agency's remodeling and indoor-air guidance recommends planning ventilation and maintenance as part of construction and operation. It is not a drying-time specification for a particular paint, adhesive, or stone treatment. Follow each product's instructions and the contractor's verified room-readiness procedure.
Check whether dust-producing work is truly finished. Installing upholstery before the final cut of stone or timber can make cleaning harder and can expose materials to debris. Protect completed floors along the delivery route, including lift, corridor, and room entrance. Specify who installs and removes protection so it does not become an obstacle to safe movement.
Room temperature and humidity may change when systems first operate. Confirm that conditioning is stable enough for the selected materials according to supplier guidance. Do not cover a damp wall with a custom cabinet merely to preserve the program date. If the room is not ready, record the reason and move delivery rather than treating furniture as temporary site storage.

Plan delivery as a route through the building
Measure the largest packaged or assembled item against gates, lifts, stairs, corridors, doorways, and turning points. A piece can fit its final room but fail at a landing. Agree whether it arrives assembled or is built on site. If on-site assembly is planned, reserve clean workspace and a place for packaging that does not block trades or exits.
Sequence heavy and fixed items before delicate loose furniture when the installation method calls for it. A built-in cabinet may involve drilling, leveling, and touch-up; a sofa should not be standing next to that work. Yet floor protection must be in place before heavy deliveries. The room schedule should show these dependencies rather than a single date labelled "furnishing".
Inspect each item at receipt and record visible damage before installation. Match the item label to the approved schedule and finish sample. If a panel or fabric differs, quarantine the decision and ask the responsible designer and client to review it. An improvised substitution in one room can disrupt the villa-wide finish scheme.
Turn installation into a use test
After furniture is in place, operate every drawer, door, light control, and movable element. Sit at tables and chairs. Walk the main routes with doors open. Check that a cabinet has not hidden an outlet or service panel. Photograph any defect and assign it to a named party with a completion date.
The RIBA Plan for Use guide asks teams to consider maintenance and handover during briefing, not only after construction. For a villa, that means giving occupants clear instructions for climate control, finish care, furniture cleaning, and repair contacts. A beautiful installed room is not fully handed over if no one knows how to maintain it.
Use a room-by-room checklist that distinguishes appearance, function, and documentation. Appearance includes finish and alignment; function includes safe movement and working hardware; documentation includes product identity and care. Close each item only after the receiving person can see the result, not merely after a contractor reports it complete.
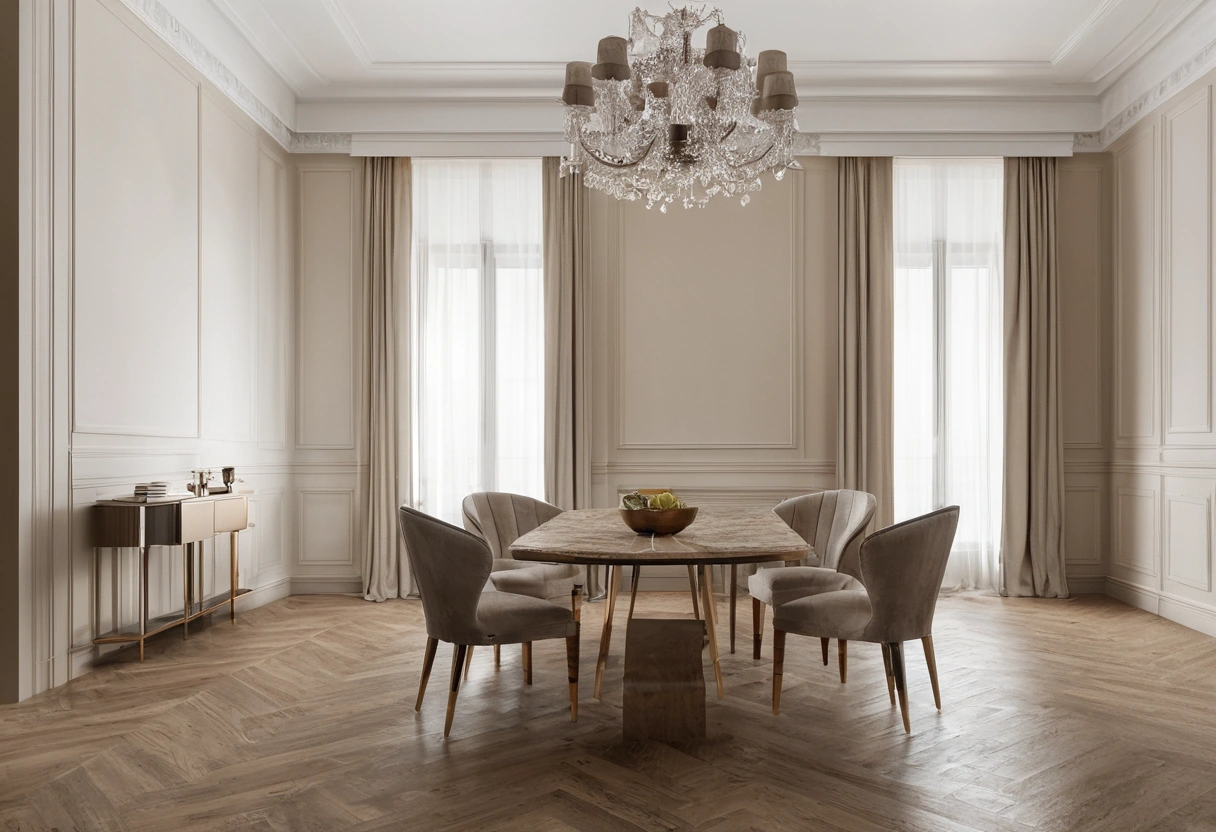
Keep the record useful after move-in
Collect the approved plans, final dimensions, material codes, photographs, warranties, manuals, and spare-part contacts in one accessible record. Note which surfaces can be cleaned with which products and which require a specialist. A homeowner should not need to reconstruct the design team's decisions when a handle loosens or a finish needs repair.
Schedule a follow-up after occupation to identify unexpected friction: a chair blocking a route, a curtain difficult to operate, or a tabletop that needs a different protective practice. The RIBA guide treats feedback and aftercare as part of building use. The villa's own follow-up can be simple, but it should be written down and linked to an owner for action.
The sequence succeeds when decisions are fixed at the right moment, rooms are genuinely ready for delivery, and the furniture can be used and maintained from the first day. That is how finishes and furnishings become one villa rather than two overlapping projects.
A final walk-through should include the person who will actually care for the villa. Ask them to find cleaning instructions, operate a window shade, reach a service panel, and identify the correct contact for a damaged item. If those tasks require a designer to explain the room verbally, the handover record is incomplete.